
My daughters want to dress up as Rey from Star Wars for this year Halloween so I’ve been tasked with creating two staffs.
A quick search on Etsy turned up a number of 3D printing models for the staff. A few minutes and dollars later, I was in possession of the 3D models. (The one I purchased is sadly no longer available but there are other similar ones on the site)
Printing
I divided the parts into two groups: a) simple cylindrical parts (mostly the handles, etc.), b) complex parts which may require printing supports.
I started with the complex parts first and whilst some of the supports failed to stick or print correctly, the rest of the parts printed fine.
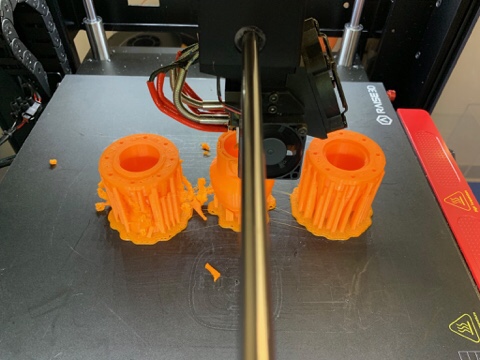

After the first set was finished, I started on the second set. This time, supports were again not working but worse, the taller part was knocked over by something (the print head?) about 80% done. At least the two shorter parts were usable.

It took me 2 more attempts before I managed to print the taller part without issue. The first attempt of printing just the taller part resulted in it being knocked over again! So I resolved in adding a large brim to make it very difficult for to be dislodged which seemed to do the trick. The trade off was that now I have large amount of left over material to remove from the part, which I would have to deal with later on.
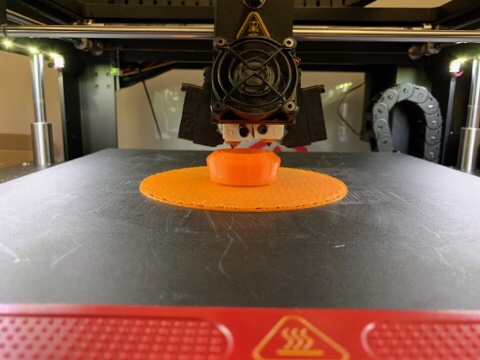
After the success with large brim, I printed the rest with the same settings and it worked out ok.


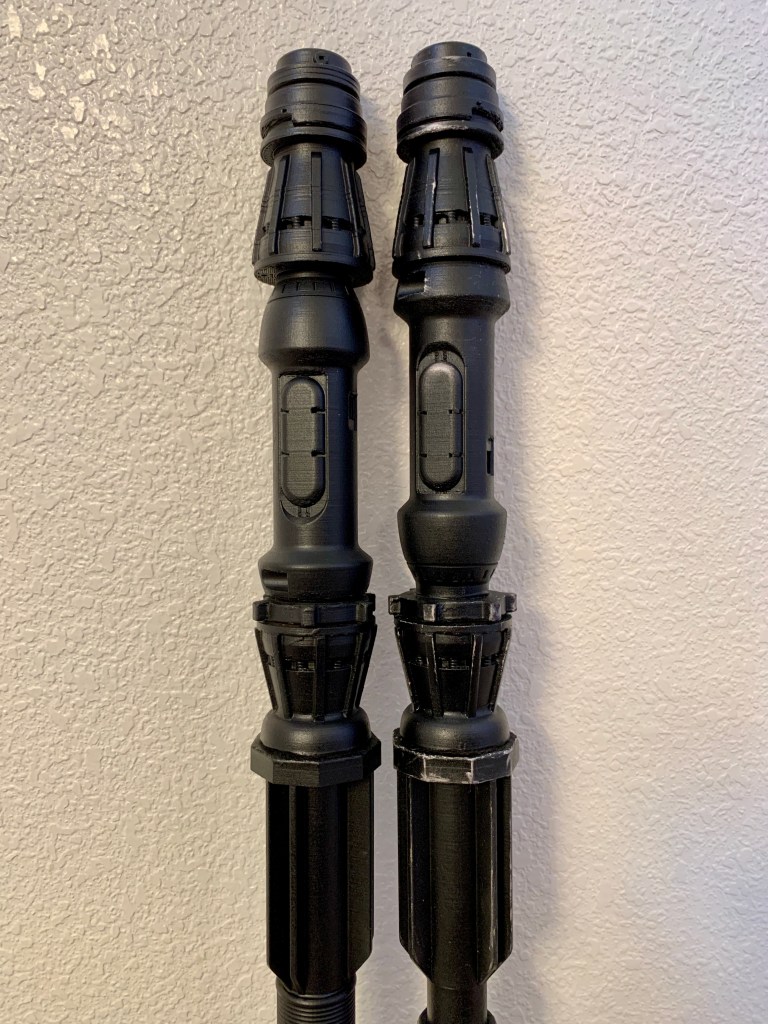
Assembling
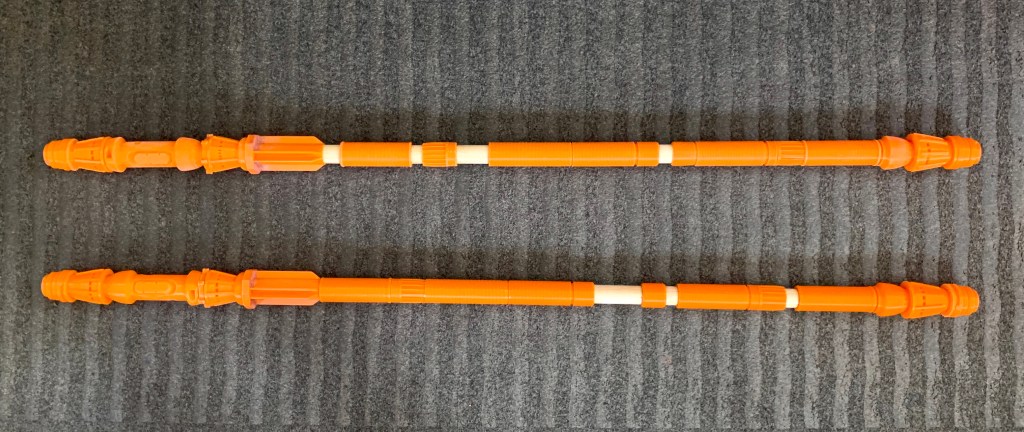
Before assembling all the parts onto the wood dowels, I spent couple of hours sanding and Dremel-ing all the excess off. Then it was time for gluing all the parts onto the dowels using epoxy glue.
Since they are for my daughters who were 8 years old, I shortened the dowels to match their height, which reduced the gaps between parts considerably.
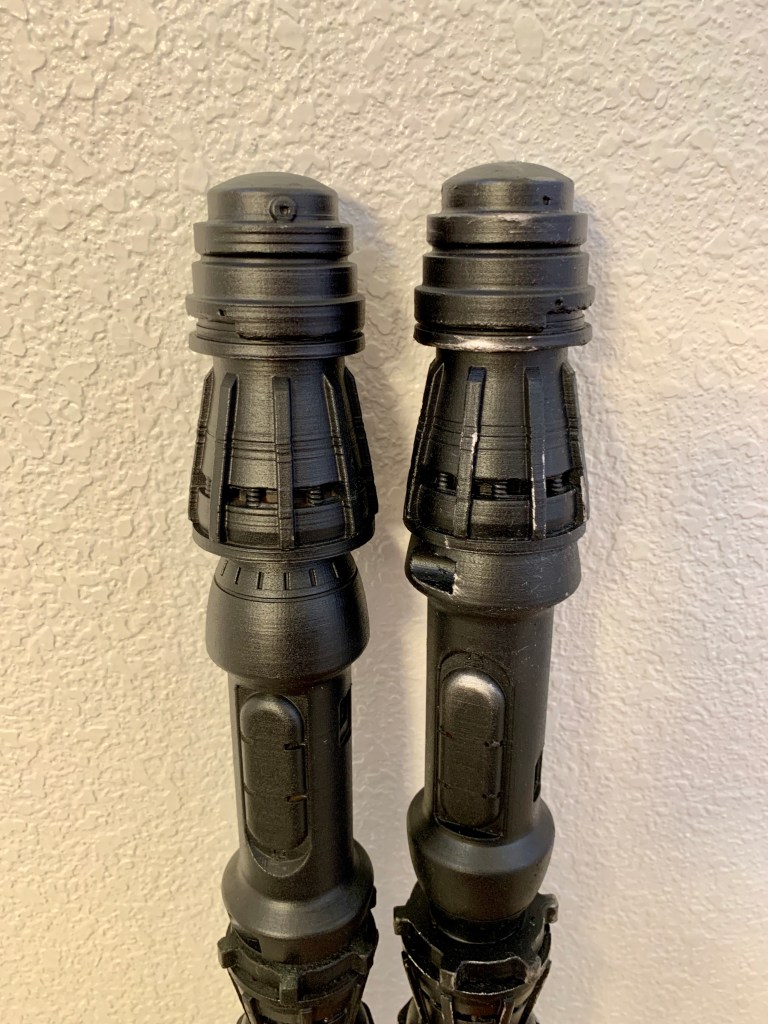
Painting
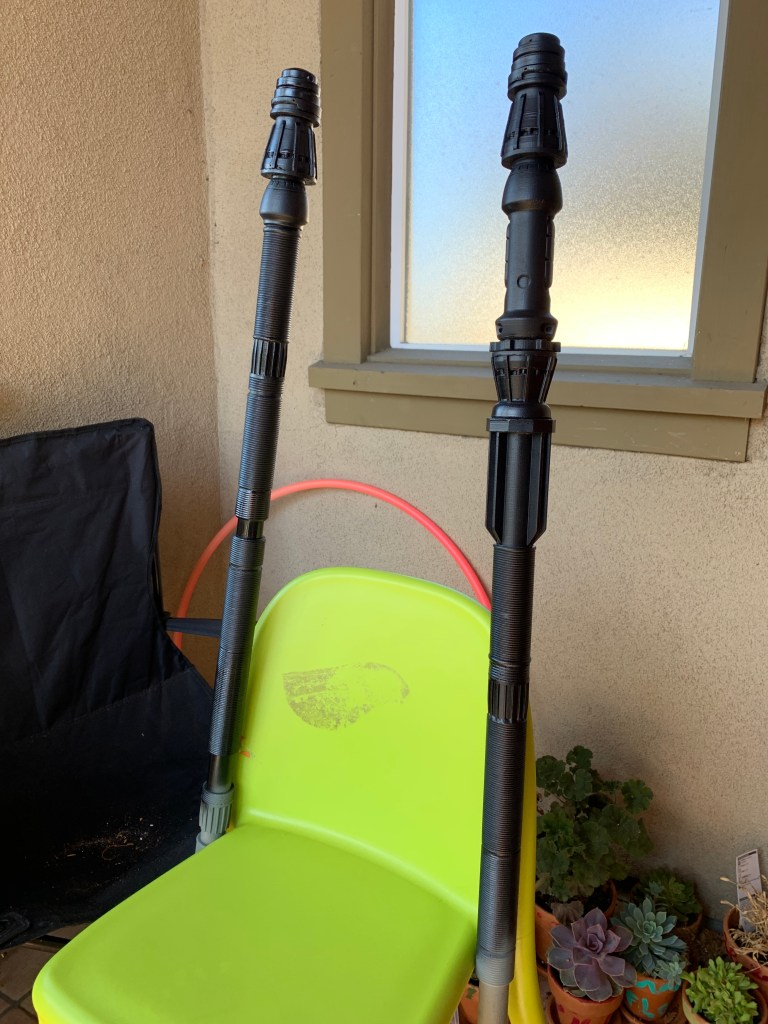
After waiting for the epoxy glue to set for a day, painting was just a simple a coat of filler spray paint, then couple of coats of black metal paint.


Finishing
To add weathering, I hand-brushed silver Rub-n-Buff at strategic corners and crevices. Once I was happy with the weathering, I applied a coat of matte finish paint to protect everything.

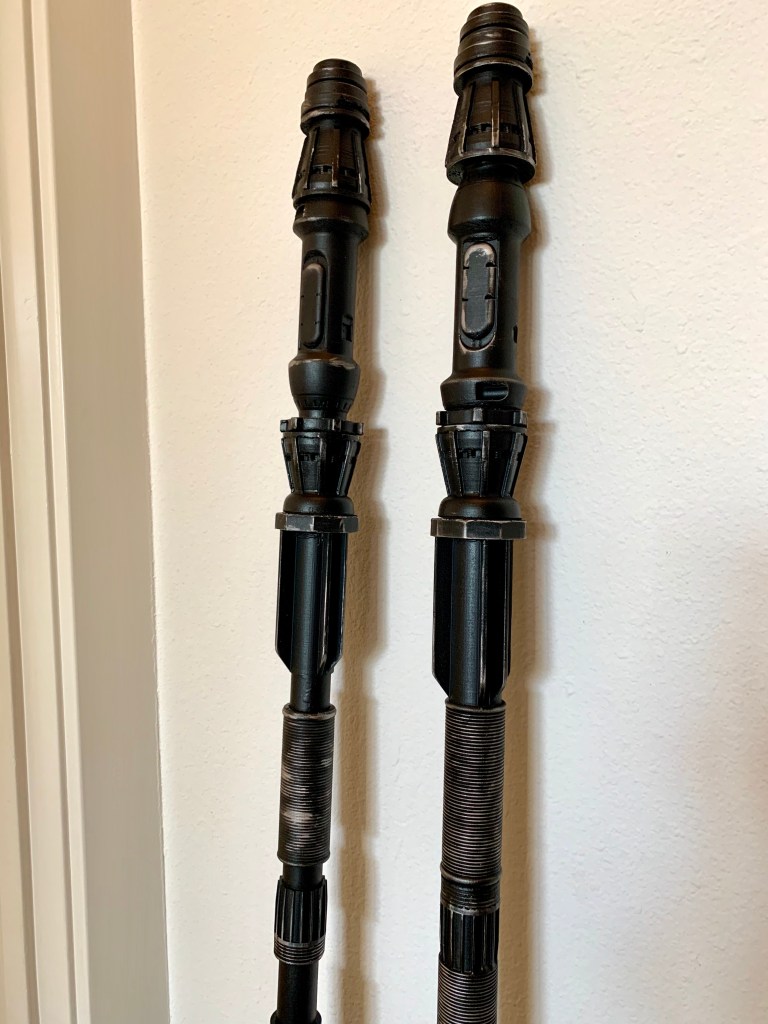
The Result


Leave a comment